How to create pre-order campaign for your product
Step 1: Click Add campaign.
After logging into your Shopify account, go to the Pre-Orders section, then click Add campaign.

Step 2: Activate your campaign.
By clicking Activate, Ordersify will show Pre-Order to the customer.
This is an essential step. If you don't click Activate then your Pre-Order campaign will not work.
Step 3: Set up a Pre-Order campaign.
1. Choose Product type.
There are two main types of products:
Single Product: Activate the pre-order campaign for only one product.
Product Group: Activate the pre-order campaign for a group of products by using tags or collections. 
2. Choose Pre-Order Product.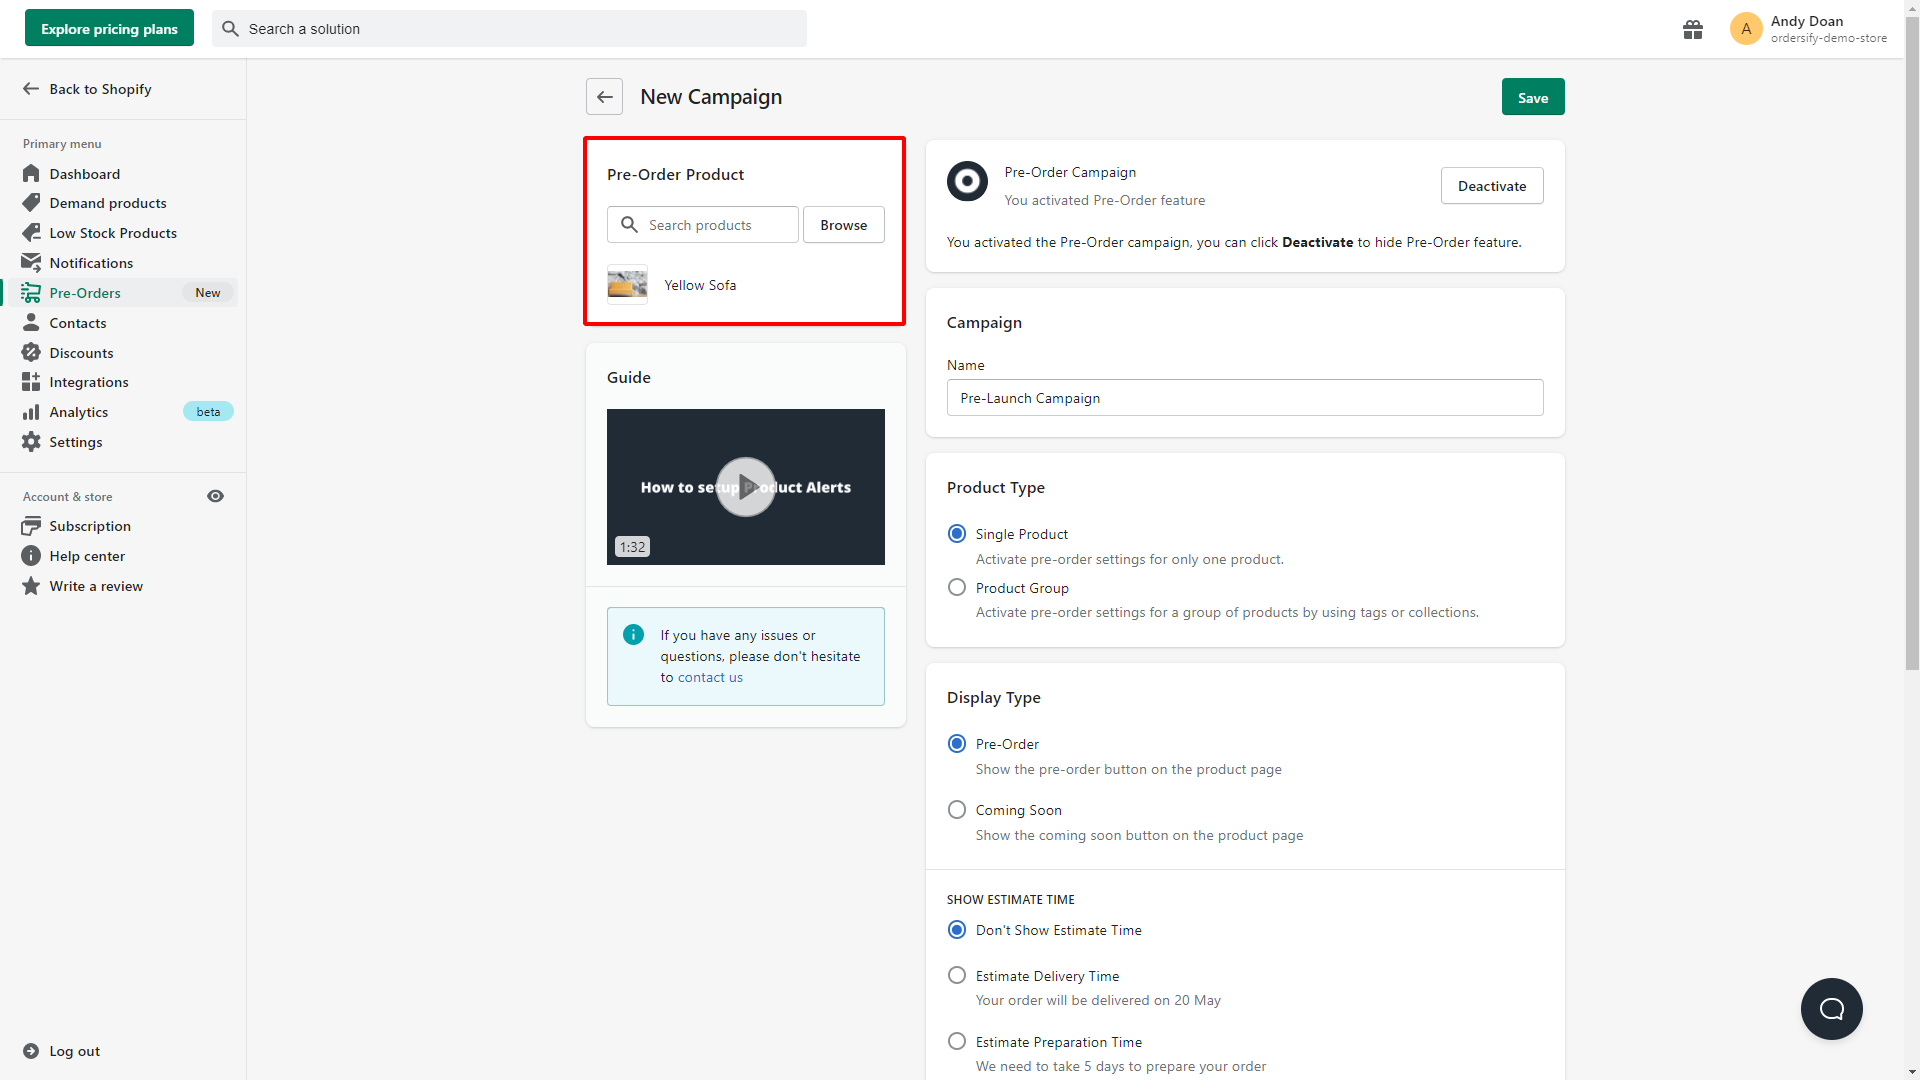

Note: When choosing products, make sure you tick the box Track quantity and Continue selling when out of stock.

3. Enter the name campaign.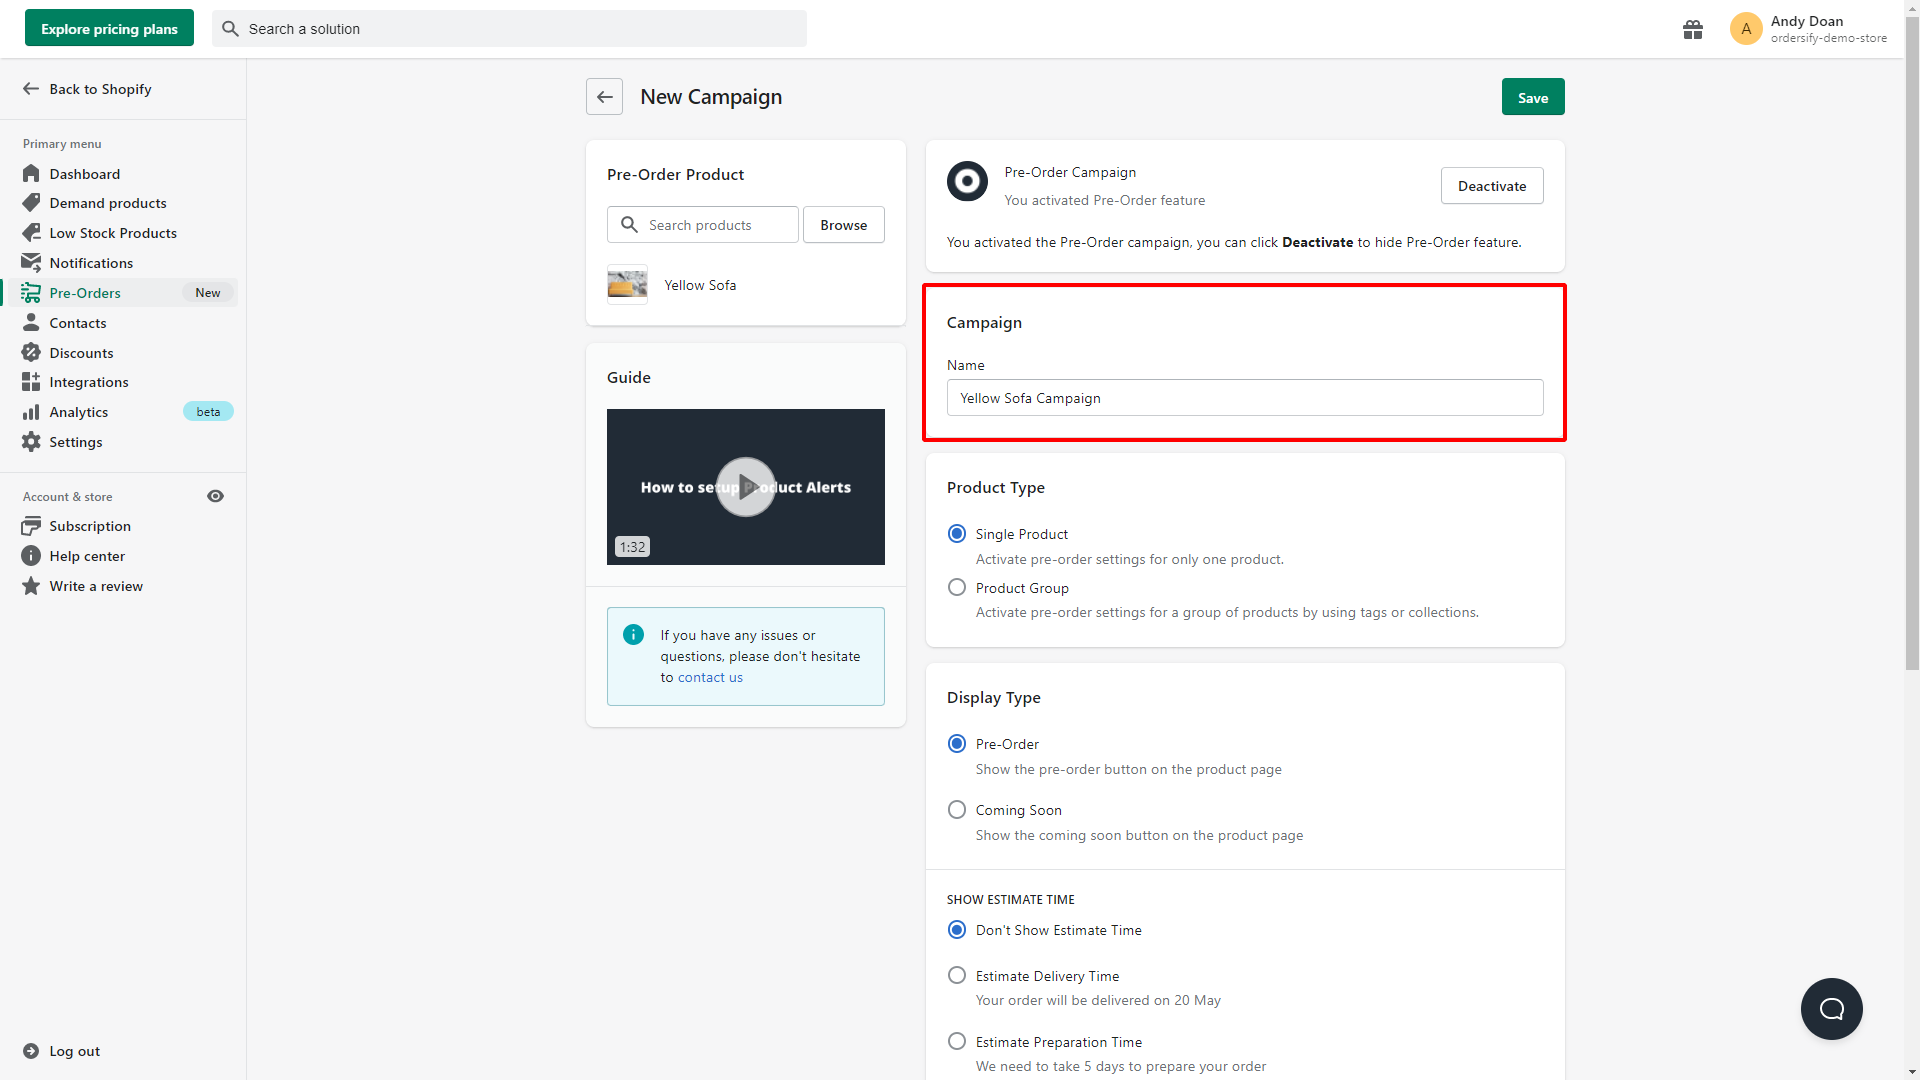

4. Choose Display type.
Pre-Order: Show the pre-order button on the product page. 

Coming Soon: Show the coming soon button on the product page.

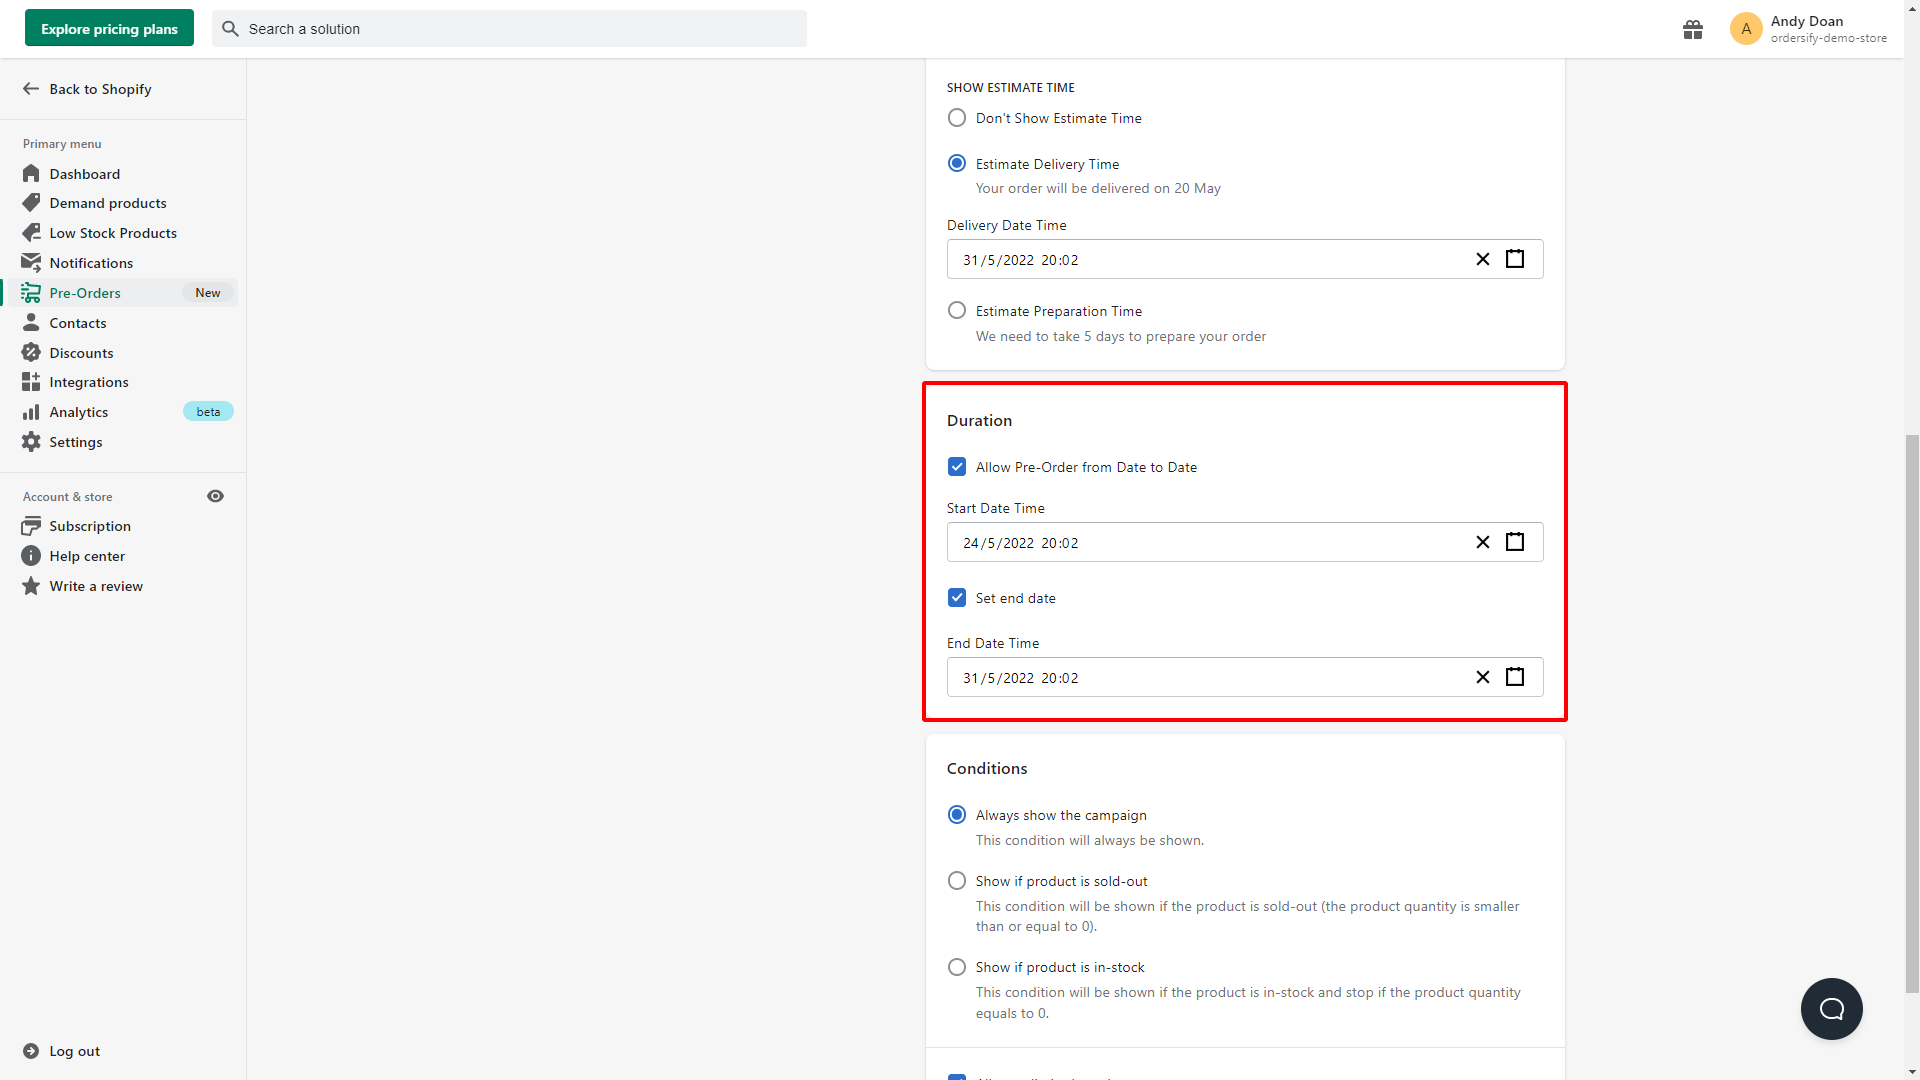
5. Set up Duration.
Here, you can choose the start time and end time of the pre-order.
If you chose Coming soon in the previous step, you can skip this step.
6. Set up Conditions.
Always show the campaign: The pre-Order campaign will always work.